Eyebrow Mapping for Beginners: Practising Brow Design
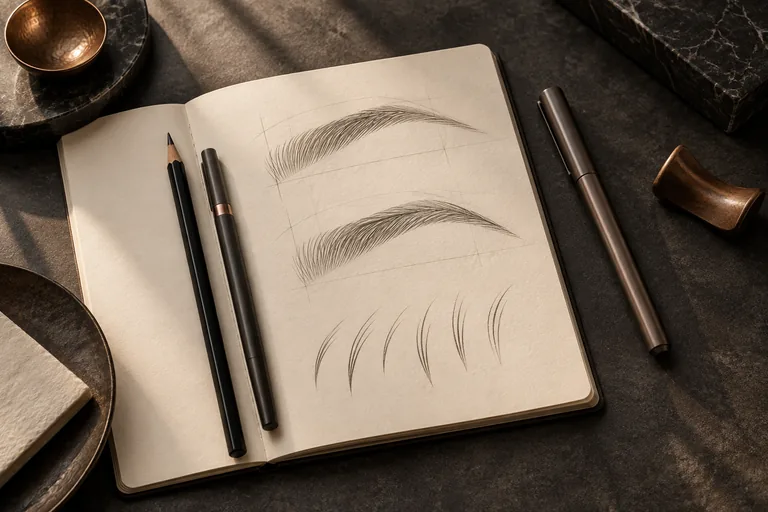
Brow mapping helps organise a proposed design before practical work. For a beginner, the useful aim is to understand the design method and explain the choices you made. A diagram or ratio cannot promise perfect symmetry on every face. Start with the course’s paper or template assignment.
Understand what the design is for
A mapping exercise gives you a way to plan and compare brow shape. It supports the consultation and design discussion, rather than replacing it. Keep the proposed outline separate from any decision about performing a procedure.
Skinart’s online microblading course includes eyebrow design, the Golden Mean and a face-mapping assignment. Follow the assigned method and ask about any reference point you do not understand instead of mixing several unrelated diagrams.
Organise a paper practice exercise
- Use the face template or paper layout specified for the assignment.
- Identify the reference points taught in the relevant lesson.
- Sketch the proposed outline clearly before adding details.
- Keep a second attempt so you can compare the design choices.
- Note the part of the shape you want feedback on.
Work on a design exercise, not on a live procedure. If the lesson’s instructions and a diagram appear inconsistent, pause the task and ask the trainer to explain which approach to follow.
Review more than left-right symmetry
Compare the overall shape, direction and balance of the proposed brows. Check whether the sketch reflects the assignment brief and whether you can explain each reference point. A neat drawing can still be difficult to discuss if you do not understand how you arrived at it.
Change one feature at a time, such as the outline or the transition through the arch, and save both versions. That makes feedback easier to apply than repeatedly redrawing the whole design without a clear question.
Make feedback specific
| What to show | What to explain |
|---|---|
| Assignment and lesson | Which mapping method you were following. |
| Template or reference | The design brief and relevant reference points. |
| Two attempts | What you changed between versions. |
| One clear question | The design choice you cannot yet explain. |
Use the response to decide what to repeat. Keep the notes with your drawing so a later practice session begins from the feedback rather than from memory.
Connect mapping with the wider course
Design is one part of microblading learning. The full syllabus also covers consultation, preparation, pigments, practical assignments and aftercare. A successful paper exercise does not establish that all those areas are complete.
For the next assignment, follow the online microblading course instructions or contact Skinart South Africa with your lesson and design question. If you want to compare manual microblading with machine brow techniques, ask about the difference in course scope before buying overlapping training.
Recent Blog Posts
 How to pause a consultation without losing claritySometimes the most useful outcome of a consultation is a clear next step rather than an immediate booking. A calm pause…
 Read product instructions before making a practice planA familiar product name does not tell you everything about its intended use. Product-specific questions belong at the start of planning,…
 Build a practice journal you will actually useA useful practice journal makes the next session easier to plan. It does not need to become a second project or…