Understanding Tattoo Courses
A useful beginner course connects three kinds of work: understanding the equipment and setup, developing control through assigned exercises, and learning to assess your results. Watching a demonstration is a starting point; repeated practice and feedback help you identify what still needs attention.
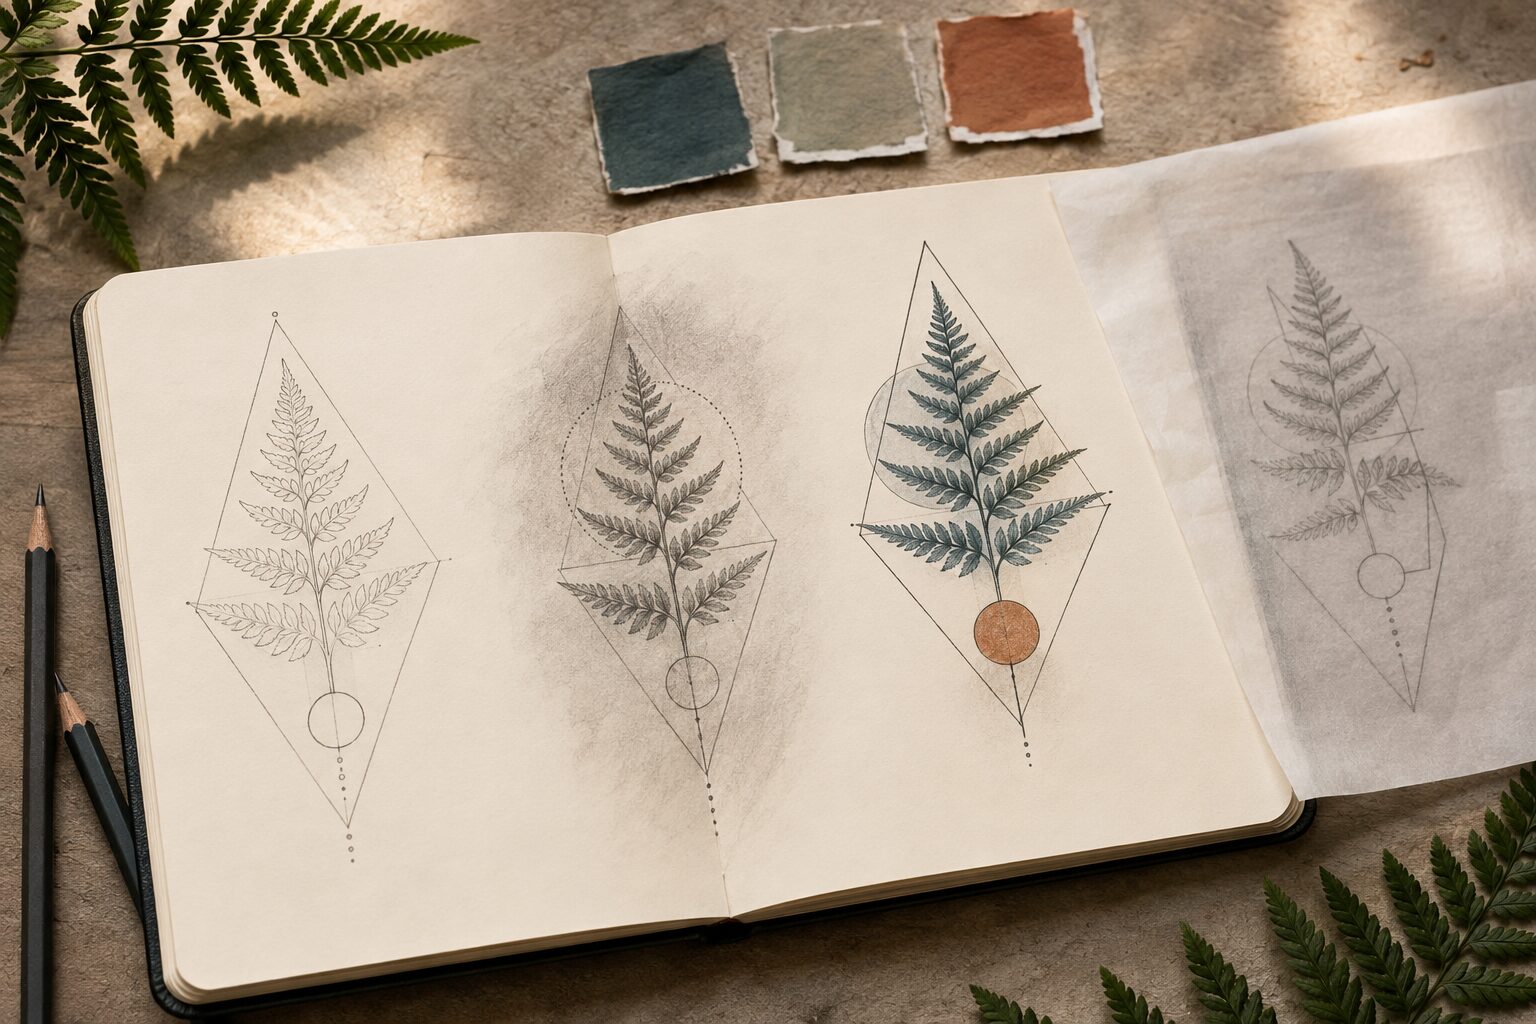
Start with drawing. Keep examples of straight and curved lines, shapes, spacing and simple shading. These studies give you something specific to discuss with a tutor and a record you can compare with later attempts.
From interest to a reviewable exercise
Learn to tattoo: four building blocks to practise and review
A useful starting route connects design, a clear reference, assigned practice and feedback. The drawing tasks below can help you begin on paper; use your course sequence and tutor guidance for equipment-based work.
1. Draw two small design options
Sketch two versions of a simple design at the same intended size. Identify the focal point, the heavier and lighter lines, and the open spaces. Write one reason for choosing a version instead of judging it only as “better”.
Keep: both sketches and the feature you want to improve. For a smaller starting task, try the free paper line-control exercises.
2. Compare a trace with its reference
Trace the selected paper design and compare it with the original at the intended size. Look for missing line segments, accidental joins and small spaces that have closed up.
Keep: the reference beside the trace, with one correction marked. A clear drawing reference comes before trying to reproduce it in an assigned practice task.
3. Review assigned synthetic linework
When your course reaches synthetic practice, use the specified materials and instructions. Compare the exercise with its reference: do lines wander, joins miss, or line weight change? Check the starts and stops as well as the middle.
Keep: a clear whole-piece photograph and the precise feature you want reviewed. The linework practice guide explains how to make a focused comparison.
4. Plan light, mid-tone and dark
On paper, identify the darkest areas, the mid-tones and the highlights left open in a simple shaded design. Compare the transitions and note any abrupt change you did not intend.
Keep: the reference, your attempt and one next practice goal. Continue with the free shading worksheet and comparison record before the relevant assigned practical work.
Make the next attempt answer one question
Choose one observation, such as “the join misses the outline”, and repeat that part of the task. Keep the intended size and reference consistent, record what you changed, and compare the same feature. Share both attempts when asking for feedback; a clean paper drawing or a finished synthetic exercise alone does not establish readiness for client work.
Connect the foundations with the styles you want to learn
Skinart’s tattoo learning includes fine-line study alongside traditional and neo-traditional, realism and illustrative work, black-and-grey, blackwork, geometric and dotwork, lettering, Japanese-inspired composition and watercolour effects. Compare the delicate lines of a fine-line design exercise with the value planning used for black-and-grey work. These are styles to study and practise, rather than a promise of specialist mastery from completing a topic.
For Australia, research your intended location separately from course selection. Business.gov.au explains that licence and permit requirements depend on activities and location. Use its licence and permit guidance and the Australian Business Licence and Information Service to find the relevant authorities. Ask those authorities about requirements for the work you intend to do.